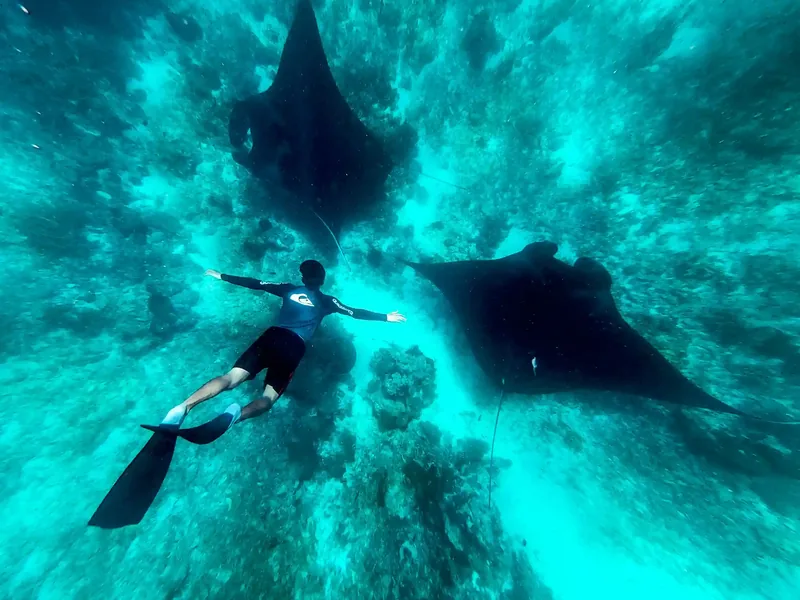
Wide, not long
A wide lens or wet lens beats a macro set-up and beats zoom. Zooming amplifies hand shake and backscatter, and mantas come close anyway.

The Guide · Photography
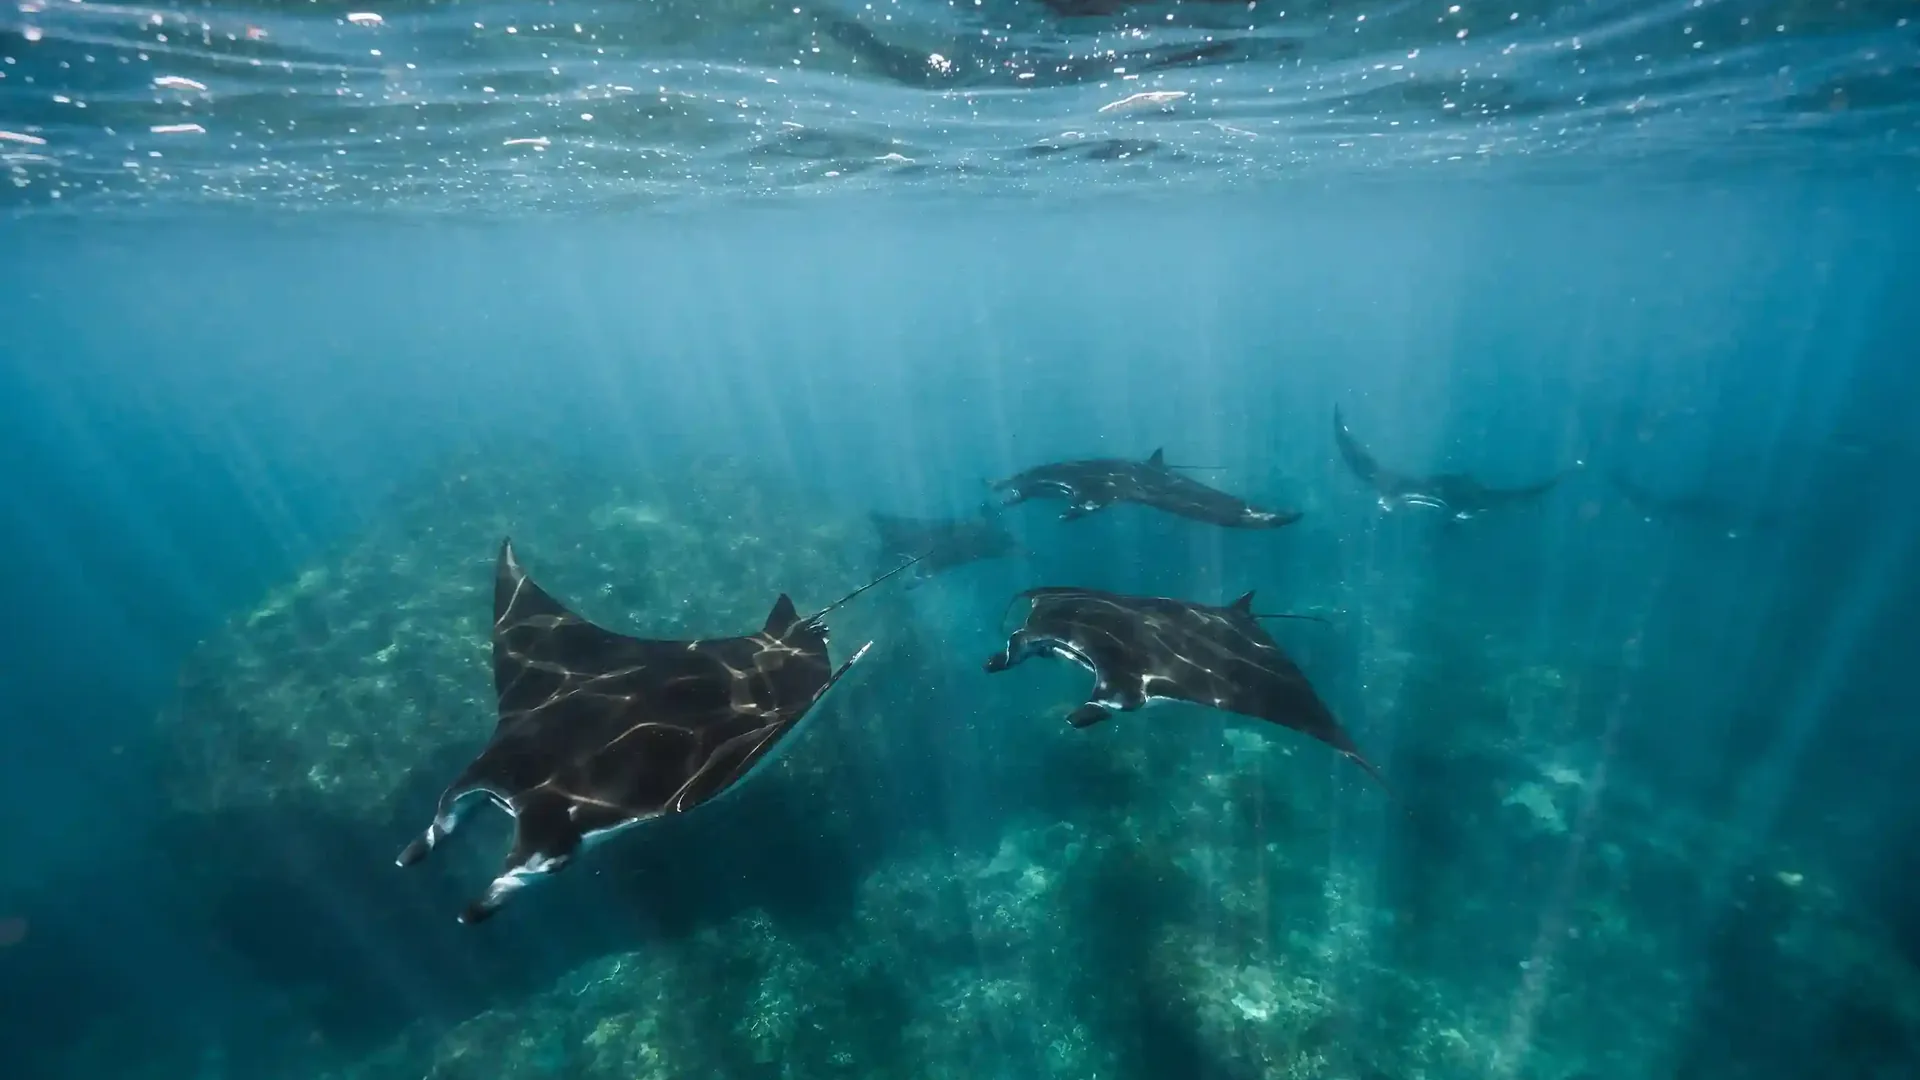
Eight to eighteen metres means sunlight still reaches the reef. No strobes, no studio — just a wide lens, midday sun and the discipline to not chase the animal.
Ask about camera rentalShoot wide, shoot at midday, and shoot in the wet season if you want numbers. Ambient light does the work here — the depth range is shallow enough that the reef is still lit.
Starting settings
A starting point for ambient-light wide-angle, not a rule. Plankton days move all of it.
Wet-season plankton often cuts visibility to 10–15 m. When it does, exposure and focus choices matter far more than sensor size.
Kit
Field of view and responsiveness beat resolution here. The animal fills the frame at close range.
A wide lens or wet lens beats a macro set-up and beats zoom. Zooming amplifies hand shake and backscatter, and mantas come close anyway.
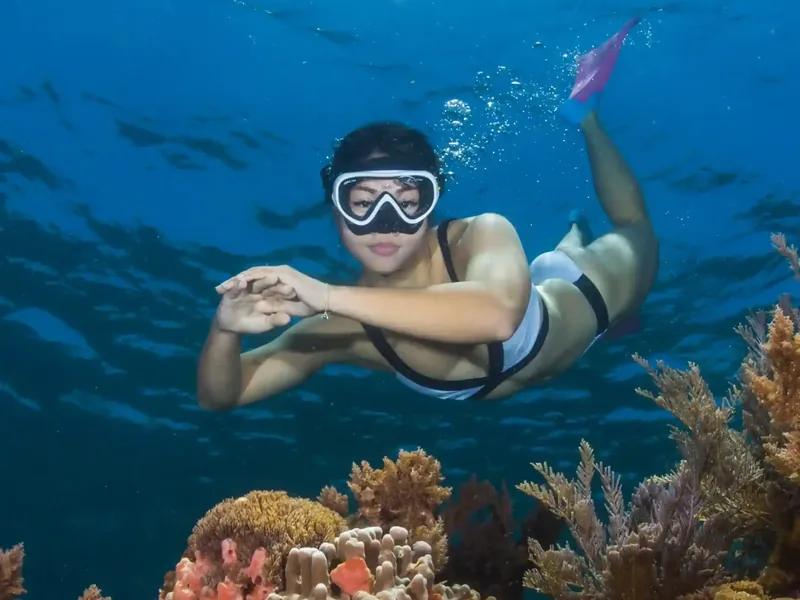
A red or magenta filter restores contrast in the 2–5 m shelf water. A floating handle and short lanyard stop a surface drift costing you the camera.
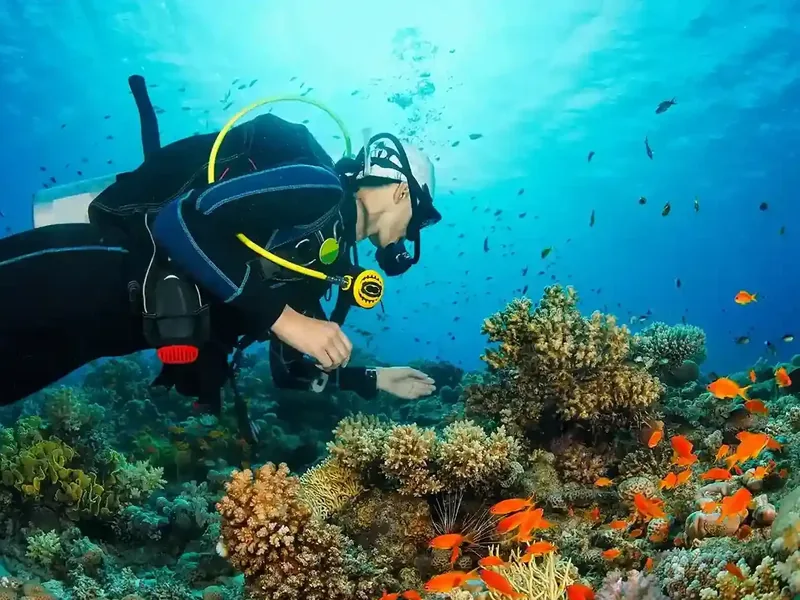
Reliable continuous autofocus with moderate tracking sensitivity avoids hunting as you and the animal drift past each other.
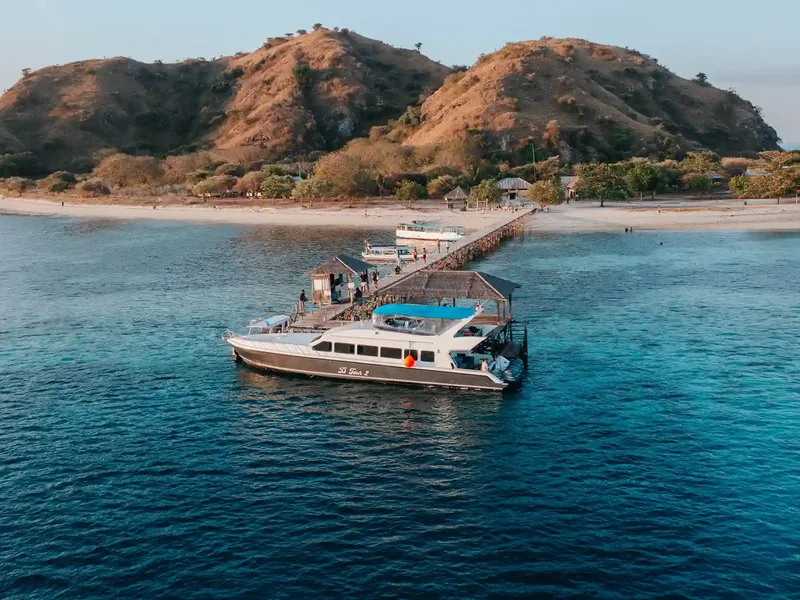
Rental is arranged through the operator, not at the site. Stock changes, so confirm availability and any deposit before you travel — especially in peak manta months.
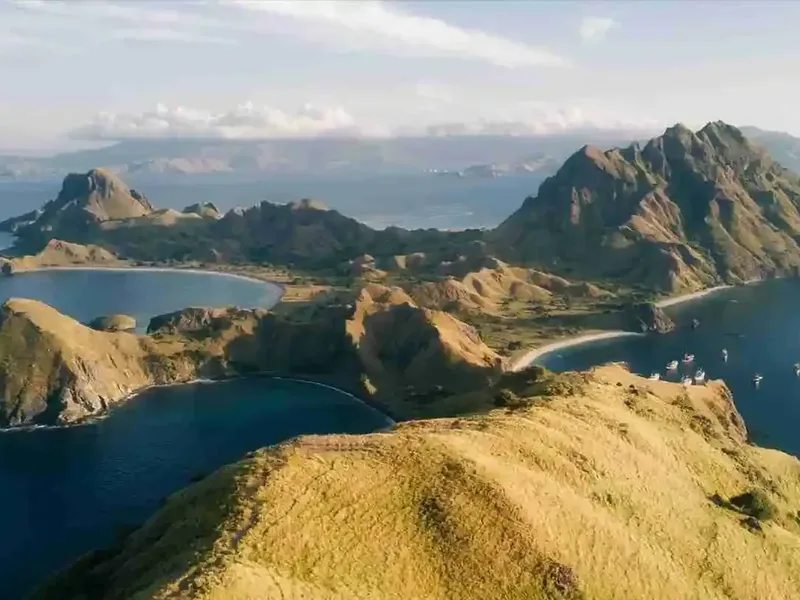
Flying a drone anywhere inside Komodo National Park requires a SIMAKSI permit from the park authority, Balai Taman Nasional Komodo. This is not optional and it is not something to sort out on the day.
Apply in advance. A drone in the bag without a permit is a drone that stays in the bag, and crews will say so.
Topside is worth planning for anyway: the boat, the crossing, and Padar’s summit if your itinerary includes it. Those frame the trip in a way the underwater set never does on its own.
The photograph is not worth more than the cleaning station. Undisturbed mantas come back; crowded ones stop.
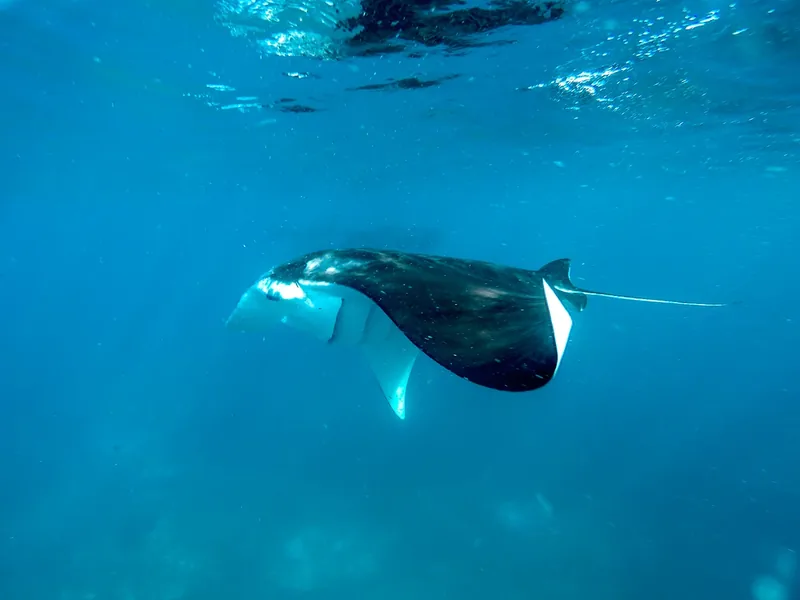
Three metres, horizontally, never overhead. Hold still and wait for the pass rather than swimming into the frame you want.
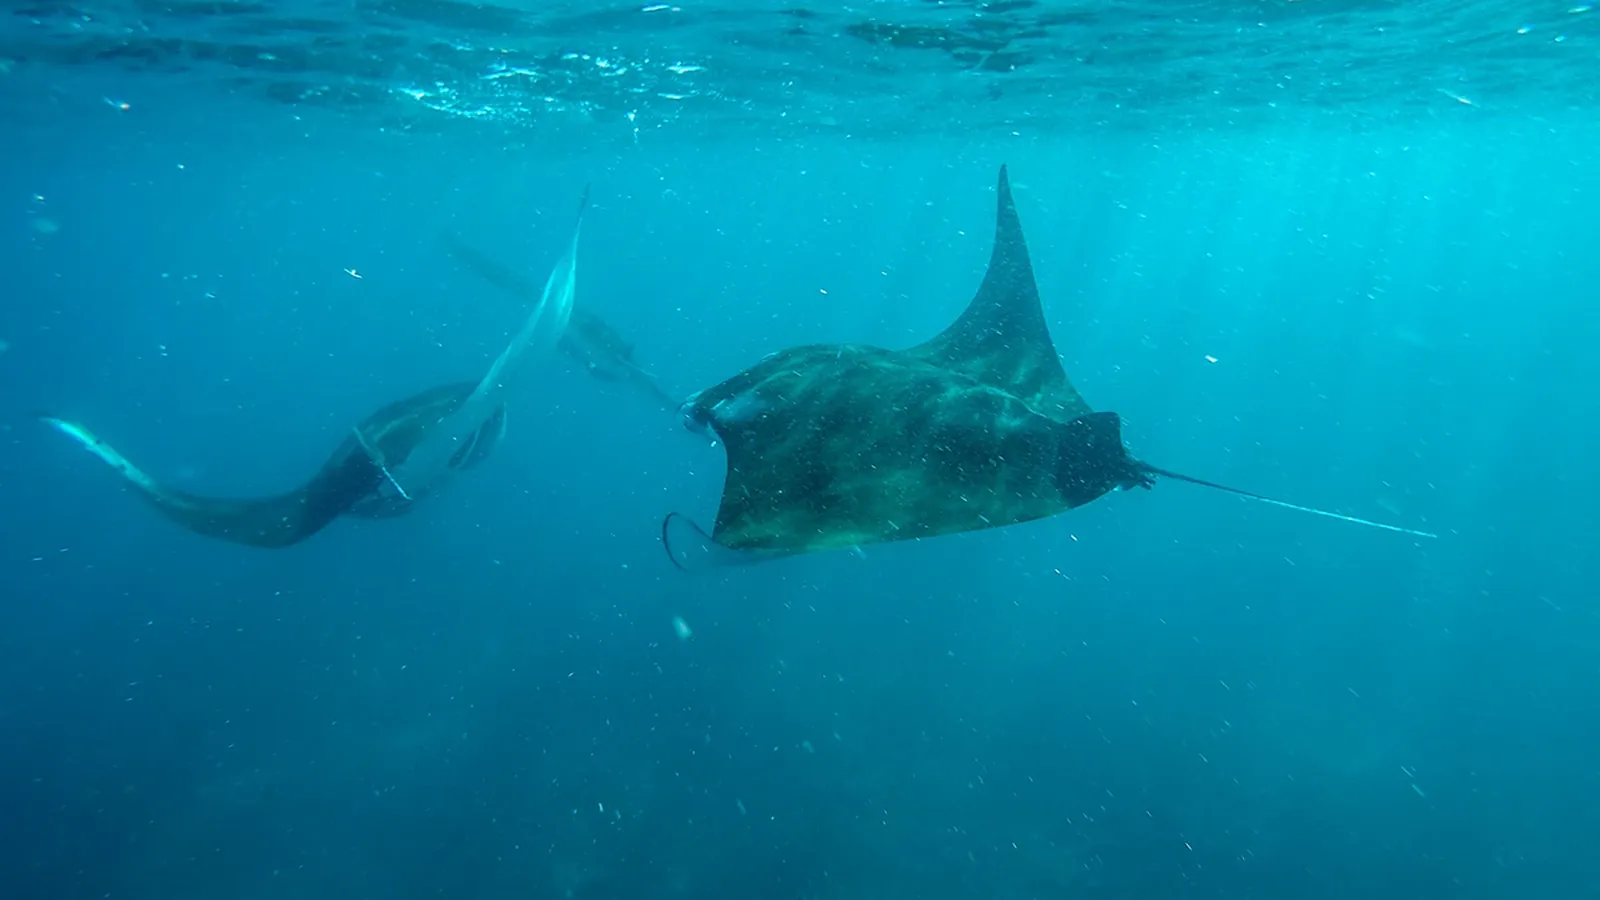
Ambient light only near the animals. Disable the flash and keep focus lights off their faces.
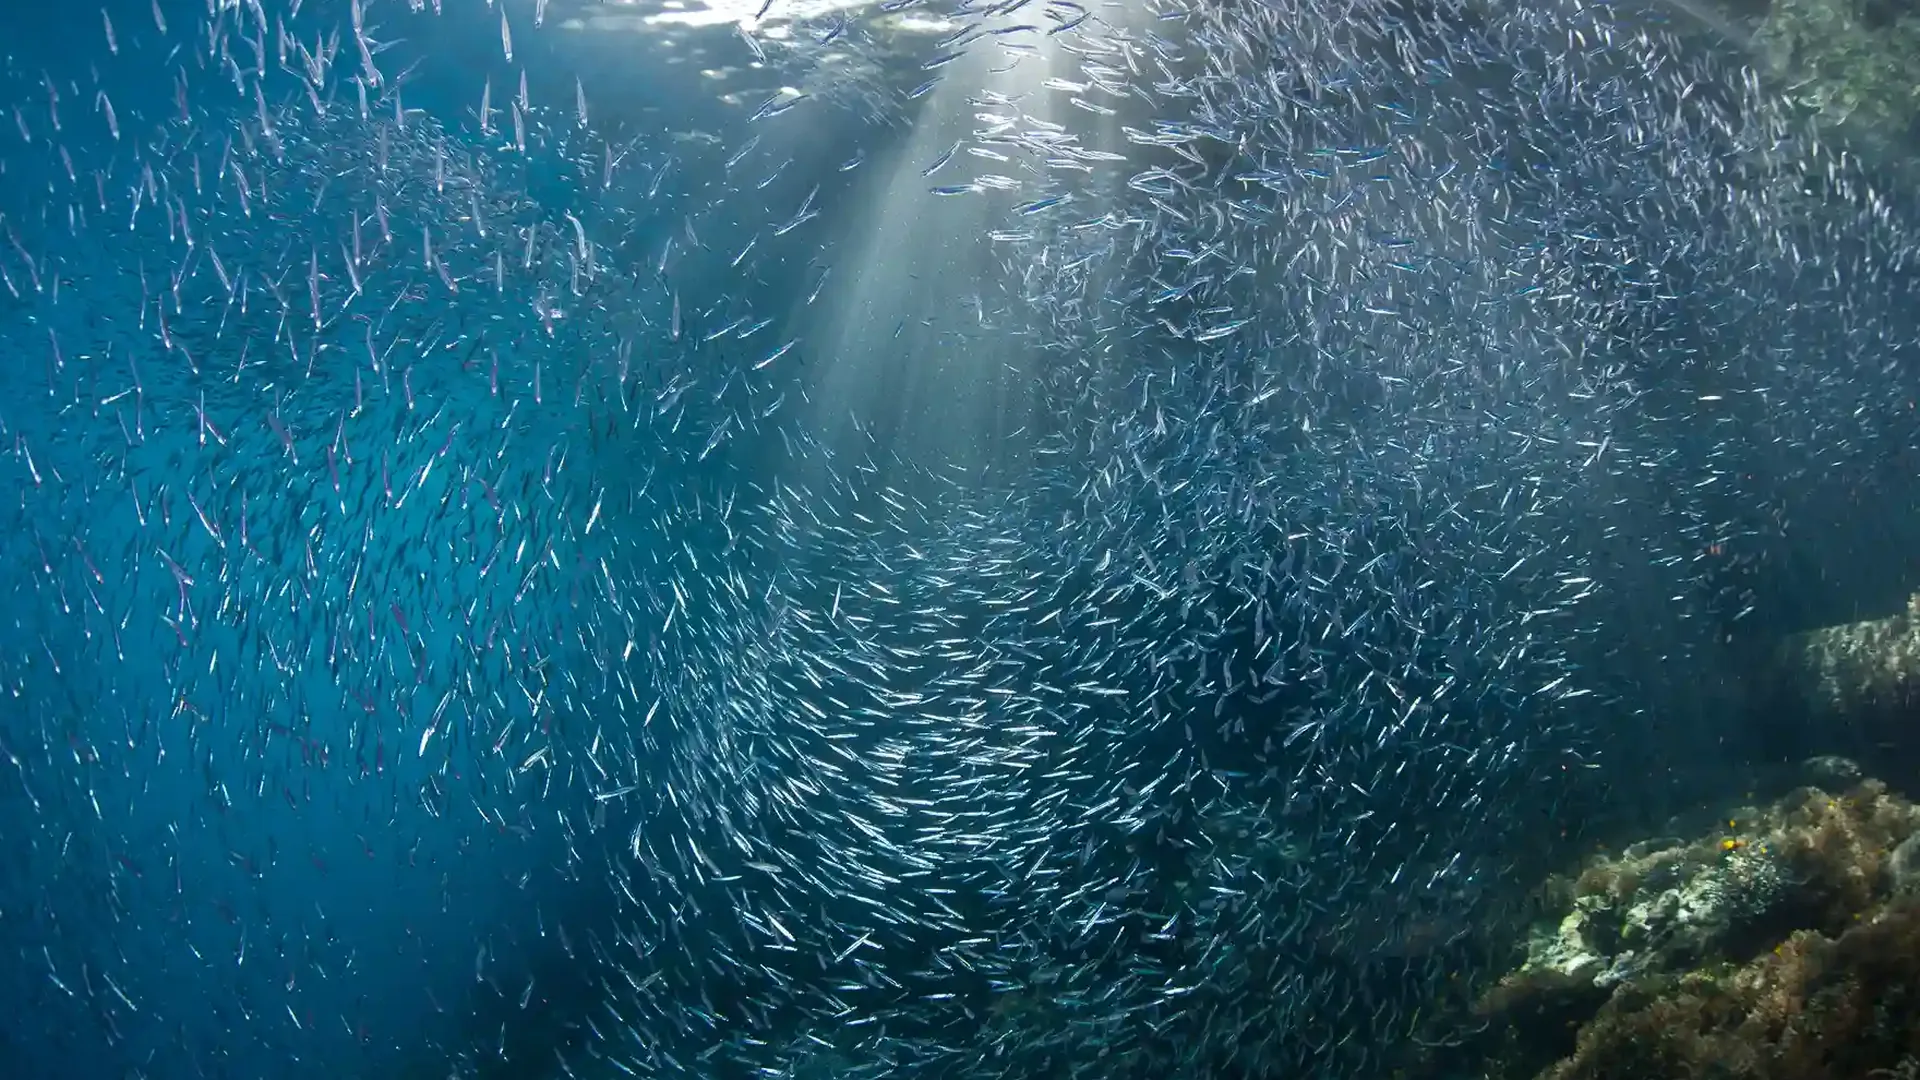
Every manta has a unique underside spot pattern. A clean belly frame goes into research catalogues — the one photograph here that is worth more than a photograph.
Build a shot list before you go. Twenty minutes in current is not the moment to decide what you are trying to capture.
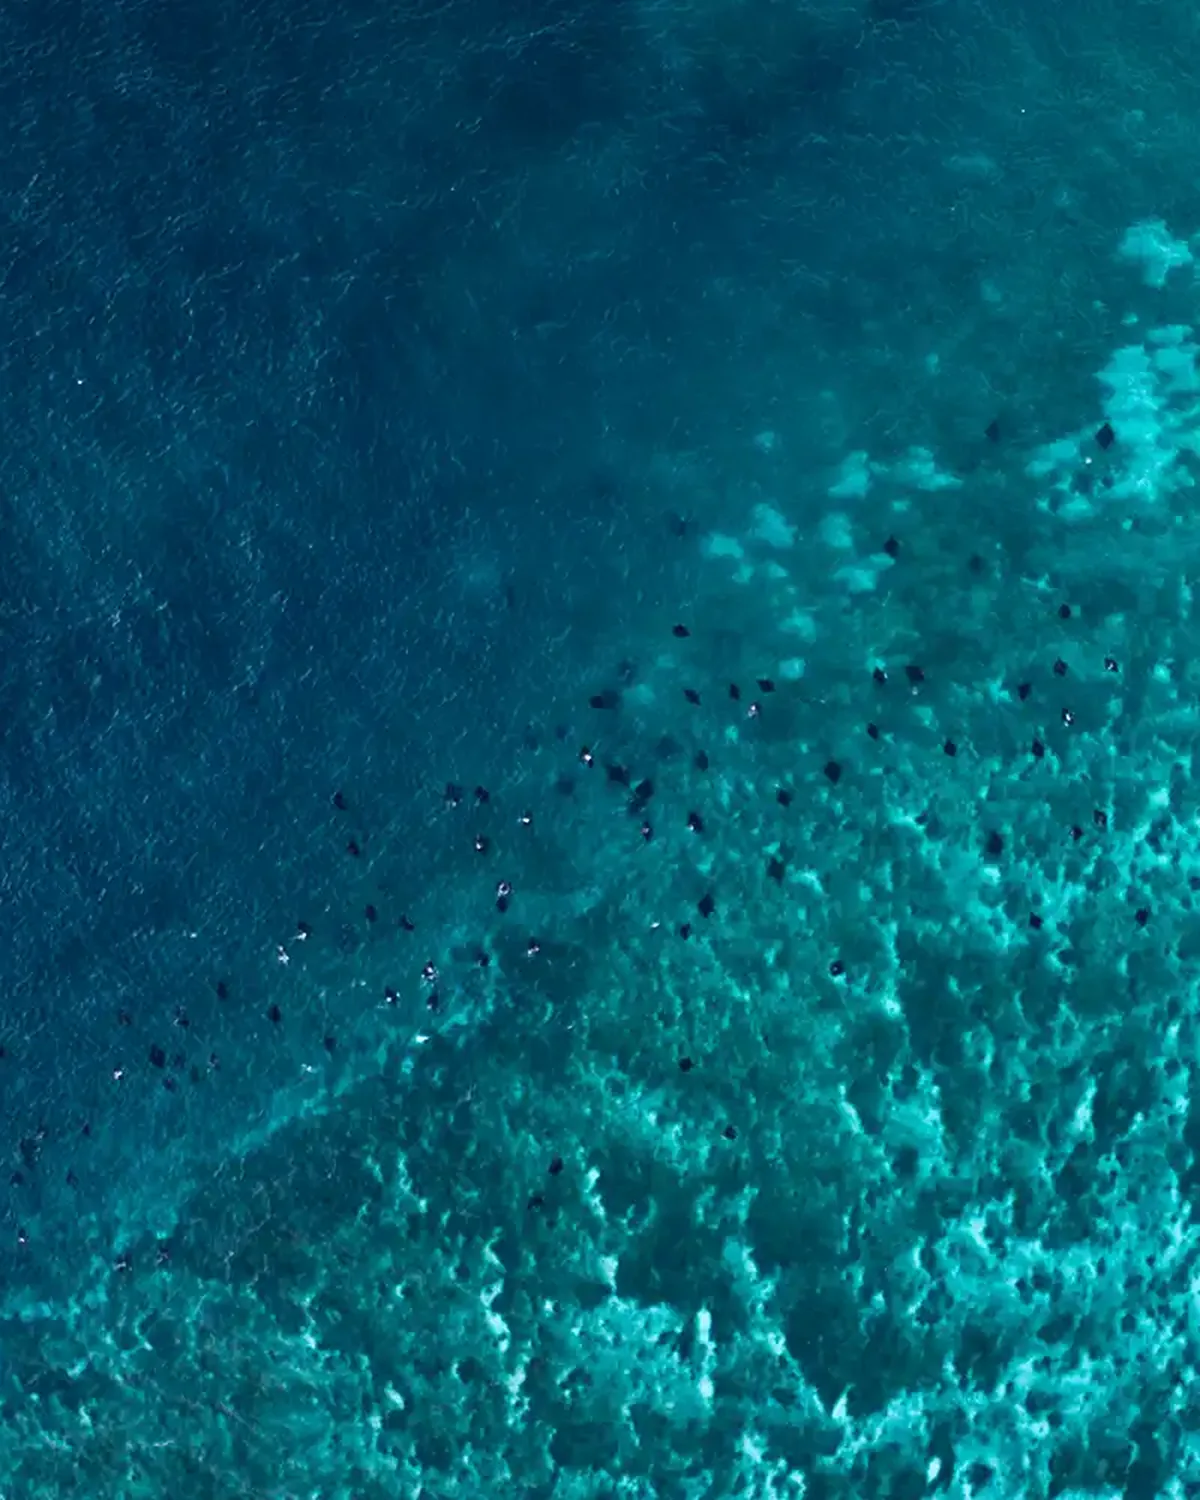
The site itself, and the depth canon.
Read more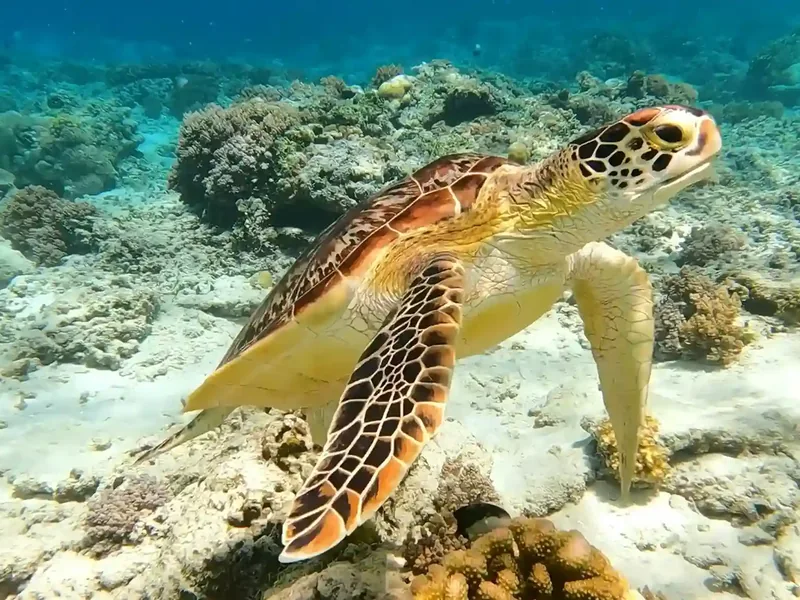
What else is worth pointing a lens at.
Read more
The rules behind the etiquette.
Read more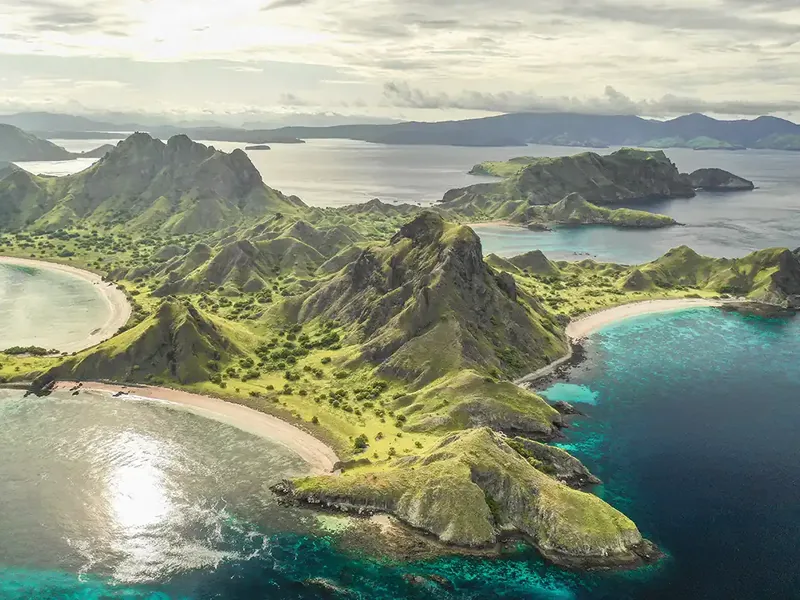
When you actually arrive, and in what light.
Read more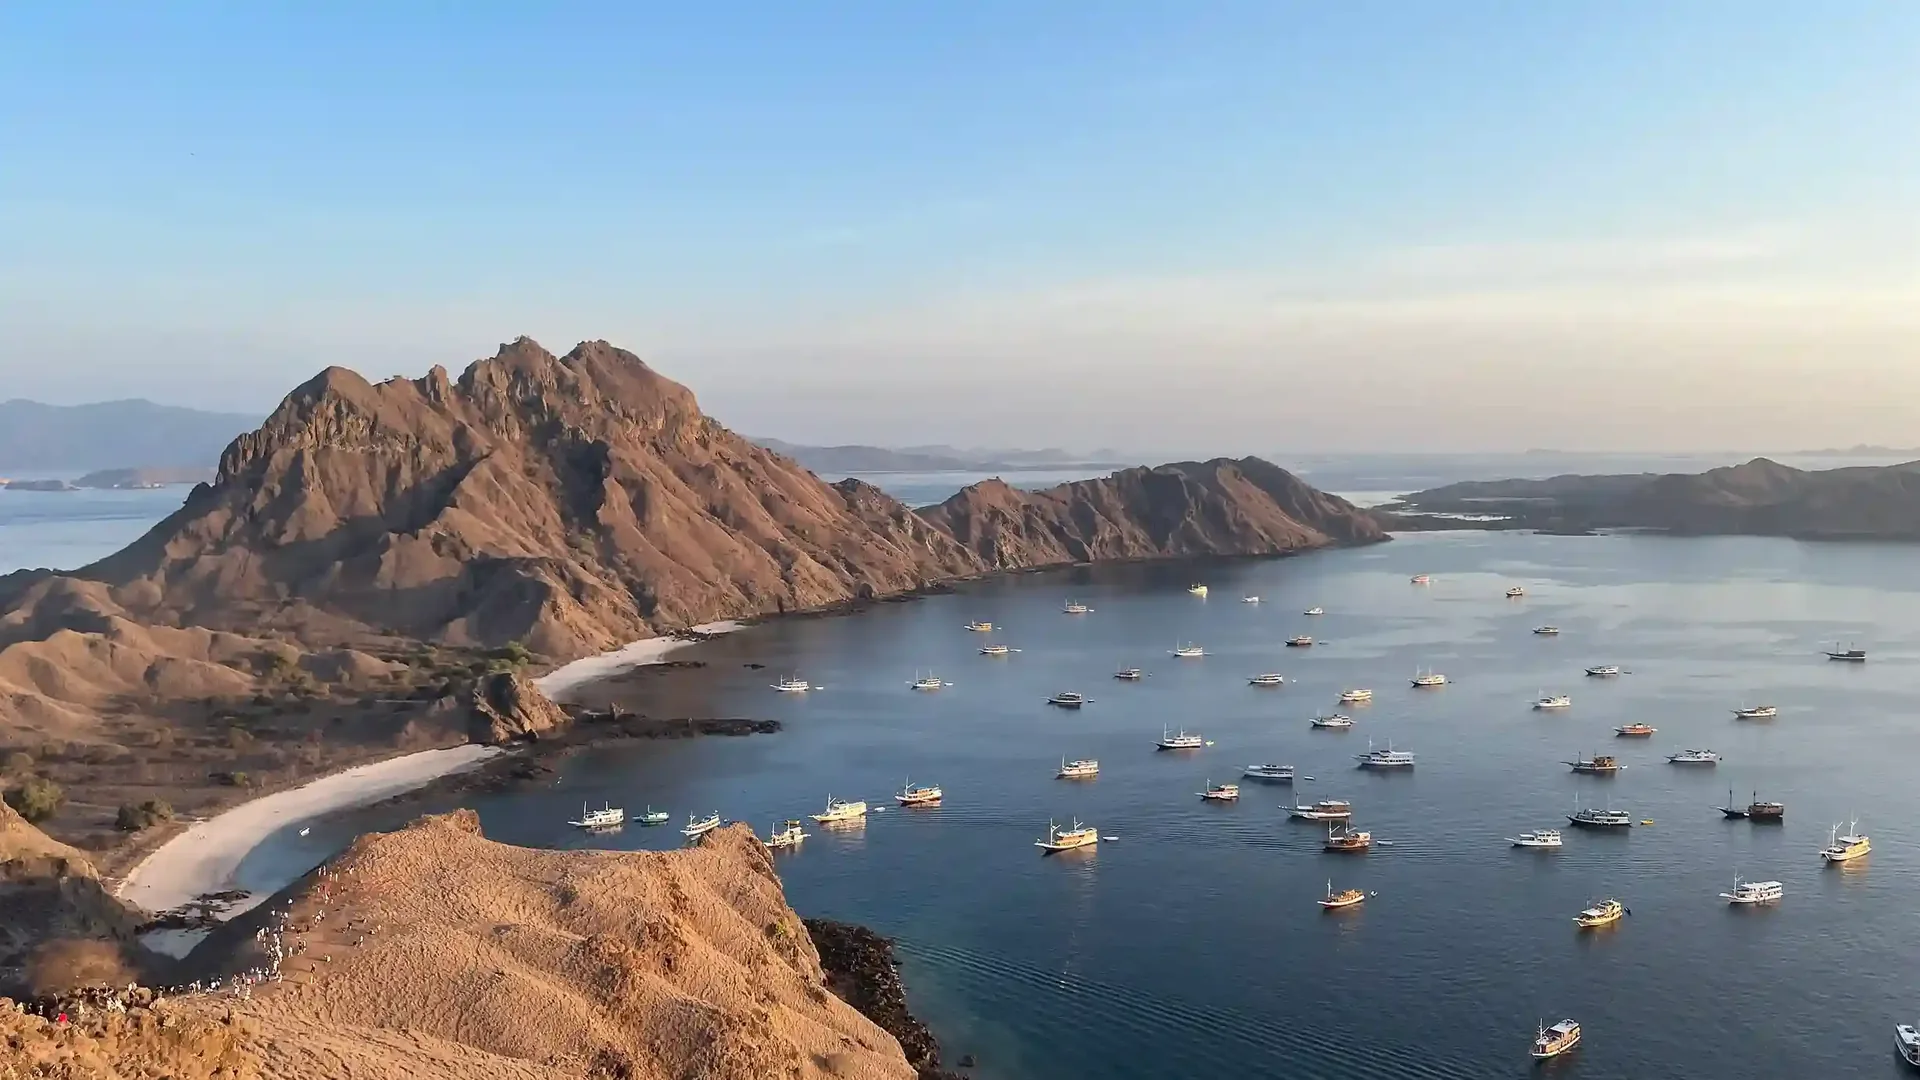
Every Manta Point topic this desk covers, in one index.
Read moreAsk Komodo Luxury to time your Manta Point stop for midday rather than last on the route. On a photography trip that single scheduling choice matters more than the camera.