Manta Photography Tips for Komodo
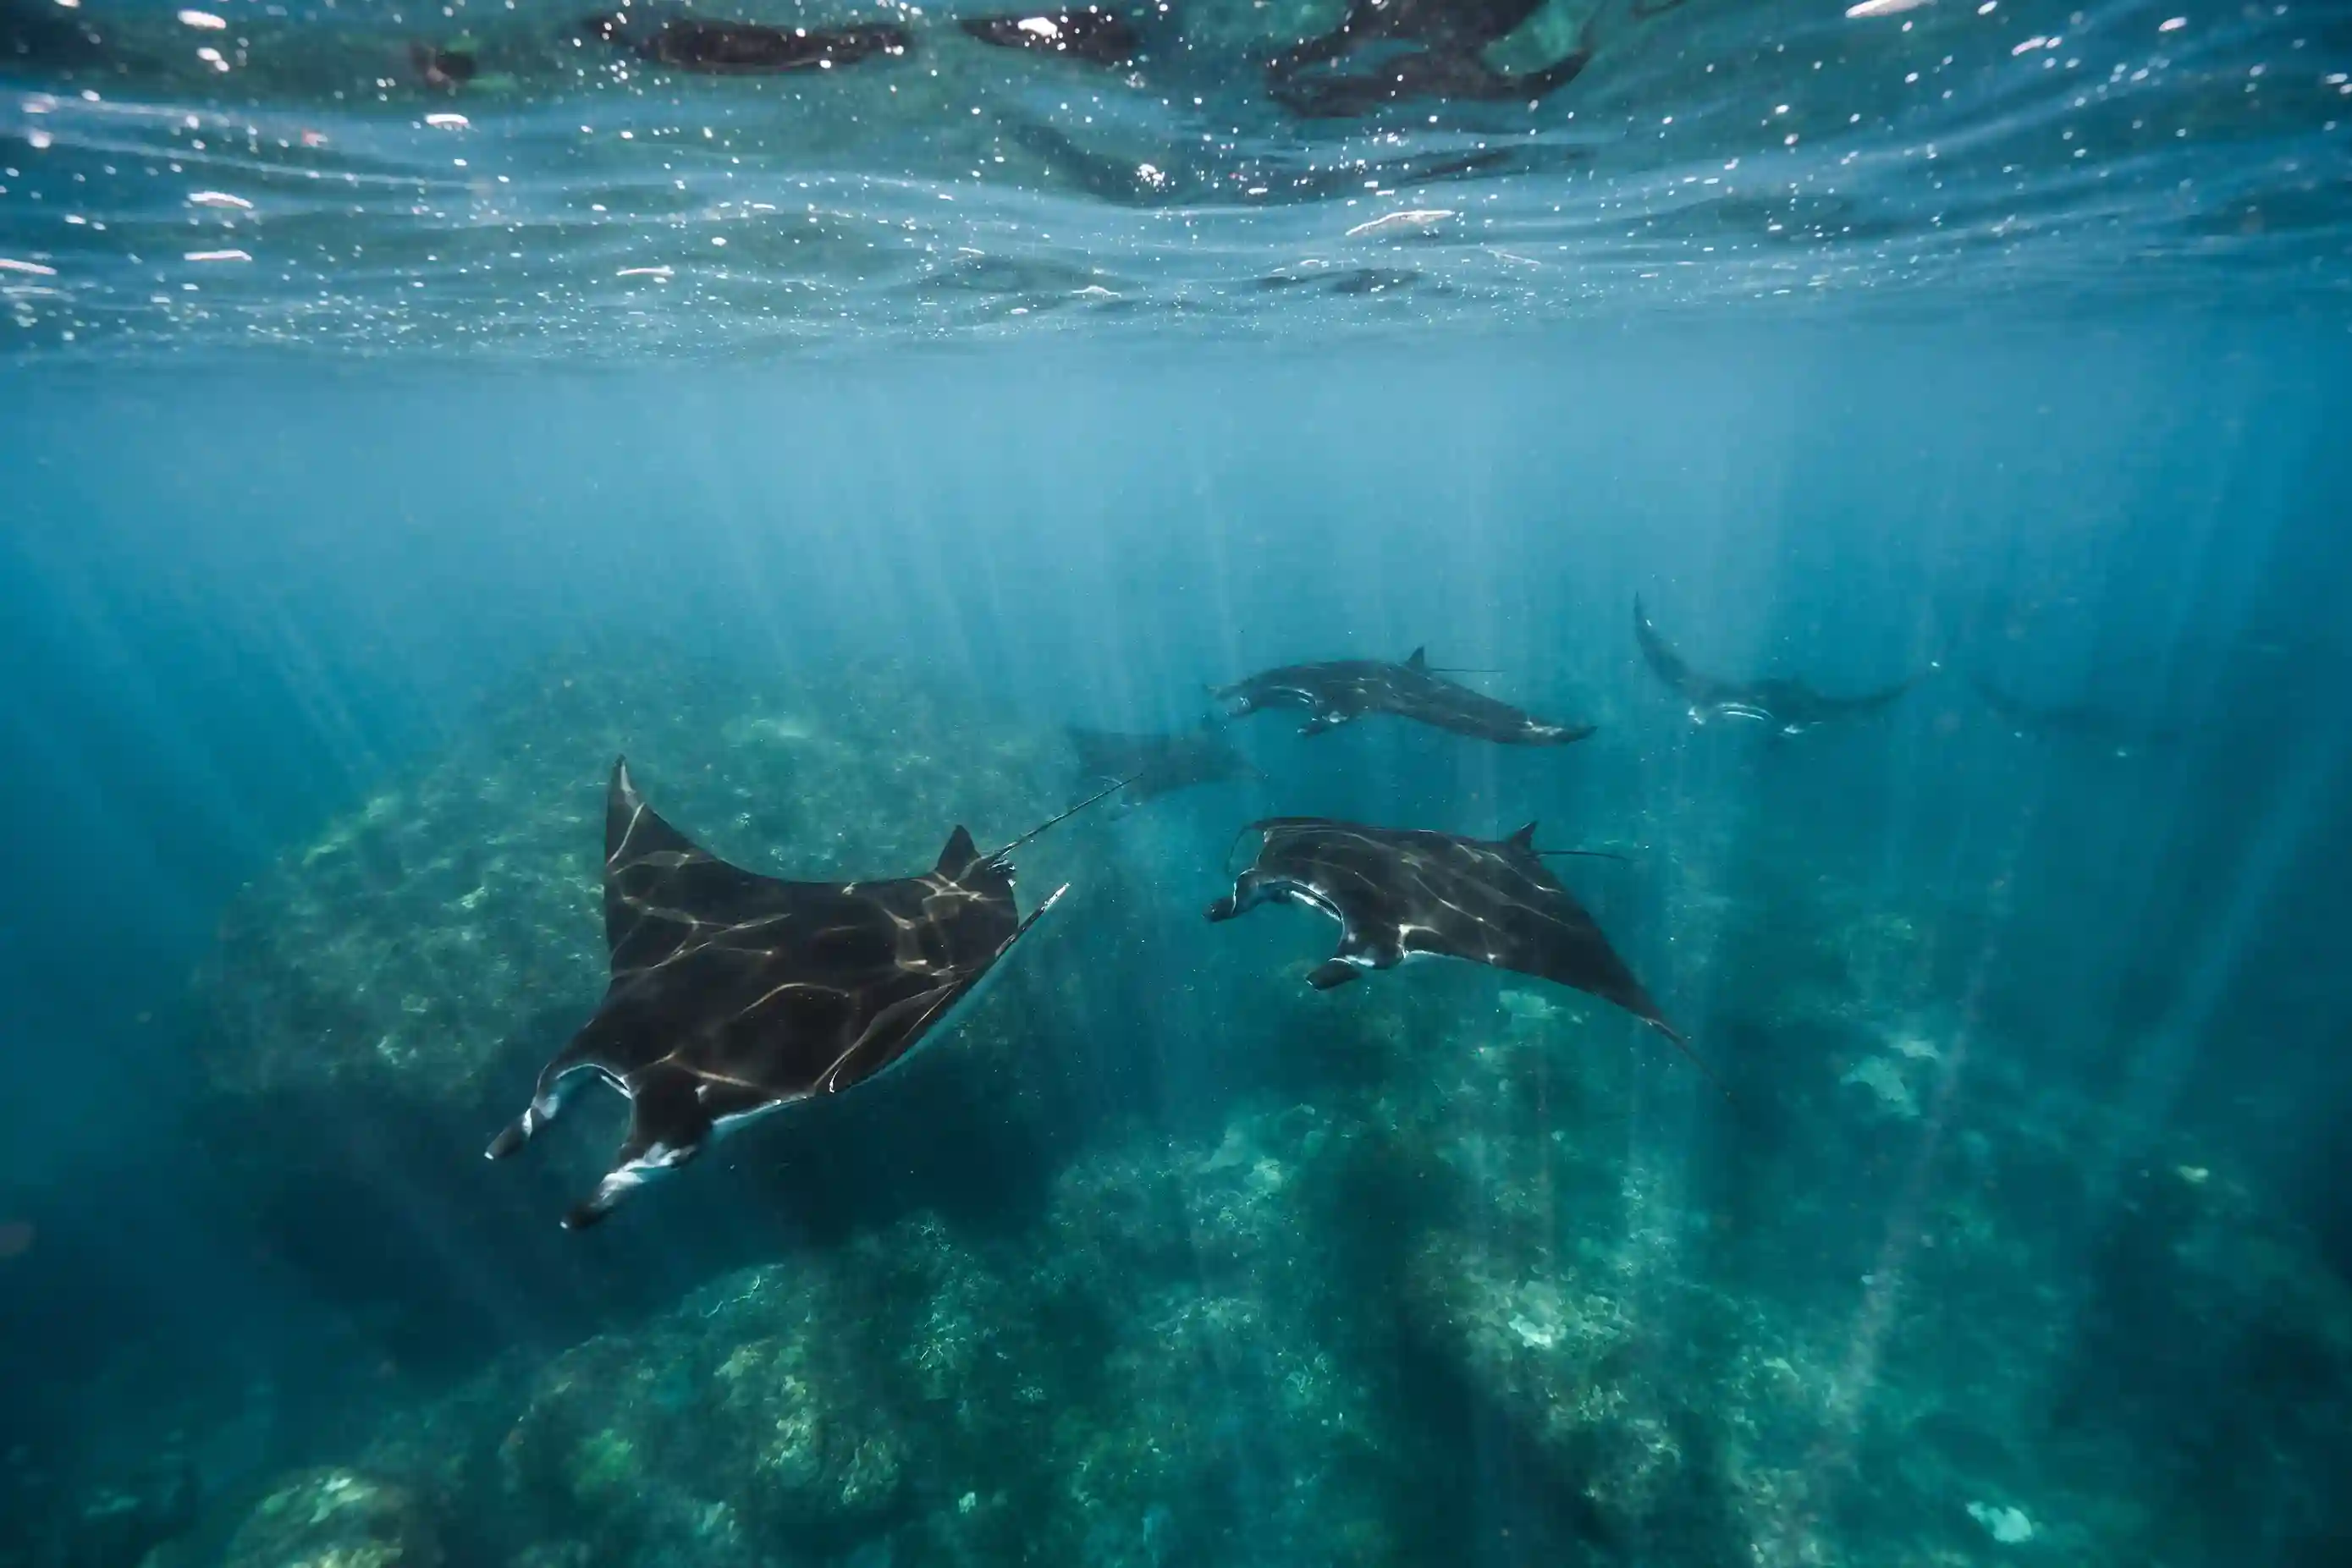
Manta Point’s shallow 8-18 m depth means strong ambient light reaches the reef, favouring wide-angle, natural-light photography over strobe-heavy setups. Bring a fisheye or rectilinear wide lens, shoot with a fast enough shutter speed to freeze a manta’s wingbeat and your own drift, and prioritise a clean ventral shot for identification value alongside your establishing shots.
Why Manta Point rewards a specific photography approach
Two things about this site shape what works: the shallow depth means light is rarely your limiting factor the way it would be on a 25-30 m dive, and the cleaning-station behaviour means mantas hold a relatively fixed position rather than cruising past once. That combination favours patient, wide-angle composition over fast reactive shooting — you generally have more time to get into position than a single-pass encounter with open-ocean wildlife would allow.
Lens choice
A wide-angle lens — fisheye or rectilinear wide — is the standard choice for manta photography at this site. Reef mantas typically run 3-4.5 m across the disc, with the largest individuals reaching about 5.5 m, and at the working distances you will be shooting from, a standard or macro lens simply cannot frame the whole animal. If you only bring one lens to Manta Point, make it your widest.
Camera and housing settings
- Shutter speed: keep it fast enough to freeze both the manta’s wingbeat and your own drift in the current — a slow shutter compounds two sources of motion blur, not one.
- Aperture: a moderate-to-small aperture helps keep more of a large animal in focus at close working distance, balanced against the available light at depth.
- White balance: shooting in RAW gives you the flexibility to correct colour cast in post-processing rather than relying on an in-camera preset to get it right underwater.
- Strobes: many photographers shoot mantas at this depth with natural light only, given how much ambient light reaches the shallow reef; if you do use strobes, reduced power aimed to avoid backscatter and avoid startling the animal is the standard approach.
Set your camera up on the boat before entry — Manta Point’s current means you do not want to be adjusting settings once you are in the water trying to keep pace with the group and the animal.
Composition: what to actually frame
Beyond a general establishing shot, three specific frames are worth deliberately working for: a wide shot of a manta at the cleaning station with the cleaner fish visible (showing the actual biological behaviour, not just the animal in isolation), a ventral (belly) shot as the manta passes directly overhead (useful for species and individual identification, and often a striking composition against the surface light), and a shoulder-patch close-up if you want a clear species-confirmation shot distinguishing a reef manta’s pale patch from an oceanic manta’s darker one. See our reef vs oceanic manta ray guide for the full set of identification marks worth capturing.
Etiquette while shooting
The instinct to get closer for a better frame is exactly the behaviour that stresses a cleaning or feeding manta and can end the encounter early for your whole group — treat this as a hard rule, not a suggestion. Maintain a respectful distance (commonly cited as around 3 metres in Komodo operator briefings), never fin directly at a manta or cut across its path to get an angle, avoid flash or strobe use at close range, and let the animal’s own movement bring it into your frame rather than closing the gap yourself. A photographer who spooks a manta away from a cleaning station costs the whole boat the rest of the encounter, not just their own shot.
Snorkel photography vs dive photography
Because Manta Point’s plateau sits mostly in 8-18 m of water, both snorkelers on the surface and divers below can come home with usable images from the same trip. Surface photography tends to favour silhouette and downward-looking wide shots; diving gets you level with the cleaning stations for eye-line and ventral shots. Neither is strictly better — decide which vantage matters more to your goals and plan your booking (snorkel trip vs dive trip) accordingly. See our full Manta Point photography and photo-spot guide for more on this trade-off, including topside sunrise and sunset photography options nearby.
Drone photography: what’s allowed
Flying a drone anywhere inside Komodo National Park requires a SIMAKSI permit from the park authority (BTNK), and general wildlife-disturbance rules apply to marine aggregation sites like Manta Point even where no site-specific clause names it directly. Apply well in advance if a drone shot is part of your plan, and treat any sign of wildlife disturbance as an automatic no-fly decision. Source: Komodo National Park Authority, tnkomodo.ksdae.kehutanan.go.id.
Housing and gear checklist before you board
- Confirm your housing seals and O-rings the night before, not on the boat — a flood at Manta Point ends your shoot for the rest of the trip.
- Charge batteries and clear memory cards the night before departure; there is no opportunity to charge equipment mid-crossing on most day-trip boats.
- Bring a spare battery and card if your itinerary includes more than one water session in the day.
- A wrist or hand lanyard for your camera is worth using in current — losing grip on equipment while also managing your own buoyancy or swimming effort is a real risk at a site with tide-driven current.
- Rinse gear in fresh water as soon as you are back aboard, not hours later back at your hotel.
Working with a guide rather than around one
A good Manta Point guide is not an obstacle to your shot — they are reading the tide, the manta’s likely path, and the group’s positioning in real time, and following their lead usually puts you in a better position than freelancing on your own instincts in an unfamiliar site. Tell your guide before entering the water if photography is your priority; many guides will adjust group positioning slightly to give photographers a workable angle without compromising the group’s overall etiquette and safety. This is a small conversation that meaningfully changes your odds of a usable frame compared to saying nothing and hoping for the best.
After the dive: reviewing and crediting your work honestly
If you plan to share your Manta Point photographs publicly, caption them accurately — the real location, the real date, and your own name as photographer if you are publishing rather than simply posting to a personal account. This site does not use AI-generated images captioned as if they were real documentary photographs of named places, and we would encourage the same standard from anyone sharing their own Manta Point trip photos: a genuine photograph of a real encounter is worth more than a synthetic one dressed up to look like it.
Frequently asked questions about manta photography at this site
What lens is best for photographing mantas at Manta Point?
A wide-angle lens — fisheye or rectilinear wide — since mantas are large and you are often shooting at close working distance.
Do I need strobes to photograph mantas here?
Not necessarily. Manta Point’s shallow depth lets strong ambient light reach the reef, so many photographers shoot with natural light only.
How close can I get to a manta for a photo?
Follow your guide’s briefing; a commonly cited respectful distance in Komodo operator guidance is around 3 metres, with no chasing or cutting across the animal’s path.
Can I fly a drone to photograph Manta Point from above?
Only with a SIMAKSI permit from the park authority (BTNK), and only in a way that does not disturb wildlife.
Last updated: 27 August 2026. See our Manta Point photography and photo-spot guide for the wider picture, including topside shooting locations and gallery ethics.
Buoyancy control and positioning for photographers at Manta Point
Photo opportunities on the plateau come to you if you hold position cleanly in the water column. Practise hovering horizontally, with lungs rather than fins making the micro‑adjustments, so you can stay level at 3–8 metres without sculling. This reduces backscatter from sand, keeps you off the reef, and lets manta rays choose their own approach distance.
Currents along Karang Makassar often run in a steady line, so use rocks or dead coral rubble as visual references rather than constantly checking your depth gauge. If you need to stabilise, hold a single finger on bare rock, never on living coral and never on the raised cleaning heads. Photographers who can stay still without grabbing usually get the straightest eye‑contact passes.
Plan your camera handling around neutral buoyancy. Adjust your weights so you can breathe out fully and still avoid dropping, even with an aluminium housing in hand. Avoid dangling strobes, pointers or gauges that can snag or drag; streamlining your profile lowers the risk of kicking a manta inadvertently during a close pass or while backing away from other divers.
Sunrise, surface and aerial images from the boat
The approach from Labuan Bajo offers workable low‑light opportunities before you ever enter the water. For sunrise frames from the deck, a moderate wide lens set around 24–35 mm on full frame lets you include the islands without shrinking the sun to a speck. Use a fast shutter speed above 1/250 s to manage boat movement, raising ISO rather than slowing the exposure.
Once moored near Karang Makassar, most above‑water images benefit from a polarising filter to control glare and reflections on the channels where manta rays might surface. Watch for silhouettes of cephalic fins breaking the surface at tide changes; a high vantage point from the flybridge or upper deck gives flatter water and cleaner patterns than eye‑level shots from a bouncing tender.
Small drones fall under general Komodo National Park regulations and local airspace rules. At the time of writing, you should not assume casual recreational flights are acceptable over the manta aggregation, because of disturbance concerns and the presence of multiple boats. If you intend to fly any drone, obtain current written permission on land in Labuan Bajo and clear each flight with your captain and ranger on board.
Camera preparation, colour and practical course options
Before leaving Labuan Bajo, assemble housings completely, insert fresh silica gel, and pressure‑test in a rinse tank so any problem appears on shore, not on the plateau. Check O‑rings with a magnifying glance, not just a quick wipe. Charge all batteries, clear memory cards, and set clocks to local time; manta identification projects often rely on precise timestamps to link sightings across Manta Point and Manta Alley.
In the upper 10 metres, available light shots benefit from manual white balance or a custom preset made around 5–8 metres over sand. Many photographers start near 5200–5600 K for ambient‑light video and shift warmer if the water carries green plankton during the wet season. Red filters on action cameras can help for snorkellers who are not using video lights, but they do not replace correct white balance and steady framing.
Users of DSLRs or mirrorless systems typically rely on dedicated underwater housings rated beyond the maximum depth you plan to reach at Karang Makassar, sometimes with dome ports for wider lenses. Confirm that all controls you actually need underwater—shutter speed, aperture, ISO and focus mode—are accessible with gloves in cooler months. Simple systems such as action cameras with tray handles, a red filter and a small video light remain easier for beginners than complex housings, especially in current.
If you are new to underwater imaging, it is more productive to learn core buoyancy and finning on a regular dive course in Komodo National Park, then ask for a guide who is comfortable advising on camera angles and manta behaviour. Short, informal workshops sometimes run on liveaboards, focusing on safe positioning at cleaning stations rather than post‑processing. Clarify with your operator that any instruction offered will never compromise distance, no‑touch rules or the legal protection manta rays have in Indonesia.
Frequently asked questions
Is flash photography of manta rays allowed or discouraged at Manta Point Komodo site?
Flash photography is technically allowed but strongly discouraged around manta rays here. Strobes and bright focus lights can startle individuals, especially juveniles, and reduce the natural quality of their cleaning or feeding behaviour. Most guides prefer ambient light or gentle continuous video lights aimed slightly away from the eyes. If you use strobes, keep power low, shots infrequent, and follow your guide’s limits.
Is Manta Point Komodo a good spot for underwater photography?
Manta Point is one of the most reliable locations in Komodo National Park for wide‑angle underwater images of reef mantas. The shallow plateau, frequent cleaning circuits and feeding passes suit natural‑light photography and action‑camera users. The trade‑off is strong current and sometimes reduced visibility during peak plankton season, so you plan more for behaviour and close passes than for wide scenic reef vistas.
Are drones allowed to be flown above Manta Point Komodo for aerial photography shots?
Drones are not freely allowed to fly above the area; use is tightly controlled under park and aviation rules. You need prior permission from the authorities and cooperation from your captain or ranger before launching. Noise and shadows can disturb wildlife and other visitors, so many trips simply do not permit recreational flights. Always confirm the current policy on land before bringing drone gear.
Are night dives allowed at Manta Point Komodo?
Night dives are not a standard activity at Manta Point and are generally not offered. Boat traffic patterns, currents and the focus on daytime manta cleaning and feeding mean operators prioritise daylight visits. If a specific charter proposes a night dive, it would need explicit park and safety clearance, and it will not necessarily increase manta encounters compared with well‑timed daytime dives.
Is flying drone allowed over Karang Makassar Manta Point?
Flying a drone directly over Karang Makassar requires explicit permission and is not automatically allowed. Regulations aim to minimise disturbance to manta rays and to other boats anchored on the plateau. Rangers may restrict flights on the day even if you hold prior approval. Anyone considering aerial work should arrange permits in advance in Labuan Bajo and be prepared for a “no” on site.
Slow motion video settings for GoPro at Manta Point Komodo?
For slow‑motion manta footage, many GoPro users choose 2.7K or 4K at 60 fps, which gives smooth half‑speed playback while keeping resolution high. Maintain a shutter speed around double the frame rate if you use ProTune, and stabilise the camera with a tray or two‑handed grip in current. Prioritise getting close with calm buoyancy over using the very highest frame rates.
Keep reading
Diving & Snorkelling
Boat Traffic Rules at Manta Point
Boat traffic rules at Manta Point exist to stop overcrowding around feeding and cleaning mantas - guides coordinate entry timing…
Diving & Snorkelling
Manta Point vs Pink Beach for Snorkelers
Manta Point is an open-water manta-ray site; Pink Beach is a calm, shallow coral-sand bay with reef fish but no…
Diving & Snorkelling
Water Temperature & Visibility at Manta Point
Operator-reported ranges for Manta Point: wet season (Dec-Mar) water around 27-29°C with visibility roughly 10-20 m, sometimes dropping into single…